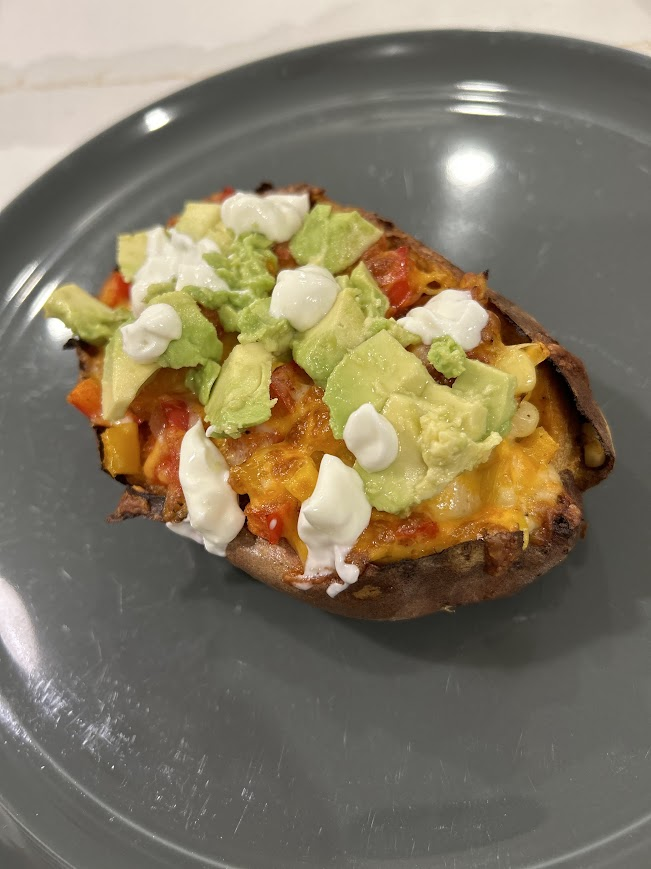
The foodNURDling has recently expressed an interest in eating less meat, so I had a great excuse to go cruising through my (too) many cookbooks. I found a tasty-looking option in Two Peas and Their Pod by Maria Lichty and Rachel Holtzman. The original recipe calls for black beans, but those don’t go over so well with the foodNURDling so those were omitted. (I added 1 more pepper and 1/2c corn to help bulk it out.) I had enchilada sauce in my freezer from a previous batch, but you can absolutely buy it in the store. These were a big hit and will make their way into the rotation.
Ingredients
4 sweet potatoes, scrubbed
1 tb olive oil
1/2 c onion, chopped (I used white onion as that’s what I had in the cupboard)
1 red pepper, diced
1 15oz can black beans, drained and rinsed
1/4 c cilantro, chopped (reserve a bit for topping if you like)
1 tb lime juice
salt & pepper
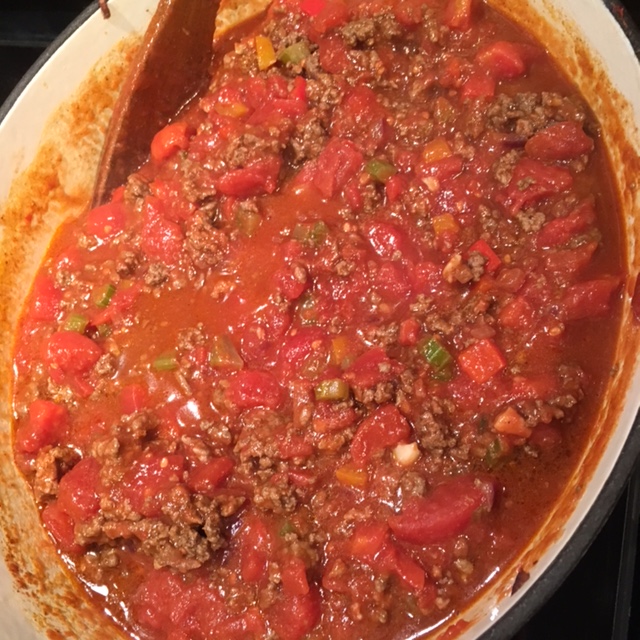
2 c enchilada sauce
1 c pepper Jack/Monterrey/marble/whatever ya like, shredded
Sour cream or yogurt, for serving
1 avocado, diced, for serving
Crumbled queso fresco or feta, for serving
Directions
1. Preheat oven to 400F and line a baking sheet with foil. Place the sweet potatoes on the sheet and poke all over with a fork to avoid a carby explosion. Bake 50-60 minutes. Once cooked, remove the potatoes from the oven but leave the oven on. The foil, too. You’ll need that again.
2. Heat your olive oil in a large pan to medium-high. Add your onion, sautéing for 2 minutes. Add your pepper and garlic, cooking another 2 minutes. Finally, add the beans, cilantro and lime juice. (This is where I added the corn.) Season to taste with salt and pepper, cook 3 more minutes and set aside.
3. Carefully halve your baked potatoes lengthwise. Pour about 1/4c of the enchilada sauce on each potato half. Spoon your filling and the sprinkle with the shredded cheese. Put the whole tray back in the oven and cook for another 5-10 minutes until the cheese has melted.
4. Top with your sour cream/yogurt, avocado and queso. A few drops of your favourite hot sauce are great on there, too, if that’s your thing.